
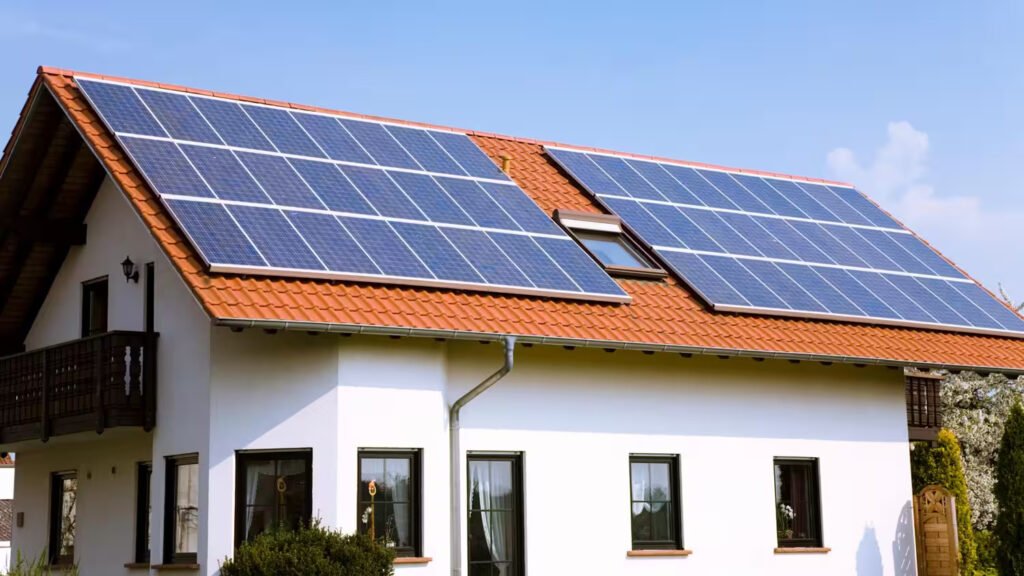
You are interested in installing solar panels on your roof to go green and save some money on energy bills. It sounds like a complex project, but it can be done in just a few steps if you learn the basics. In this article, we will walk through the whole process from assessing if solar is right for your home to finding qualified installers and understanding the costs. With a good plan and the right guidance, you can have an efficient solar energy system up and running on your roof in no time. We will break it down into simple, ‘easy to follow’ steps so you can DIY a solar panel installation and start harnessing the solar power for your home.
Understanding Your Needs: Calculate How Many Solar Panels You Require
To figure out how many solar panels you need, you will first want to determine your average monthly energy usage. Check your electric bills for the past year to get an accurate number. Once you know your usage, you can calculate the proper solar panel system size.
Calculate Your Energy Needs
For most homes, you will want a system that can generate 80-100% of your average needs. If you use around 10,000 kWh per year, a 5-kilowatt system with 20 panels should work well. A system this size typically takes up 200 to 300 square feet of roof space.
Choose Efficient Panels
Higher-efficiency panels, like monocrystalline panels, require less space since they generate more energy. Polycrystalline panels are a bit cheaper but slightly less efficient. Either can work, you will just need more polycrystalline panels to meet your needs.
Consider Available Space
If you have limited roof space, higher-efficiency panels are better since you will need fewer of them. You can also install panels on the ground, a garage, or other structures. Ground mounts require concrete footings and additional racking but open up more possibilities.
Allow for Future Needs
It is a good idea to oversize your system slightly to allow for future energy increases. Solar panels can last for decades, so a system that meets the current needs may not be enough in 5-10 years if your usage grows. An oversized system ensures you will have enough renewable energy for years to come.
With some calculations and an understanding of your options, you can design a solar system that is perfectly suited for your home. Get ready to break free from the utility company and harness the power of the sun!
Finding the Right Equipment: Selecting High-Quality Solar Panels and Inverters
If you want to install your solar panels, the equipment you choose is critical. You will need high-efficiency solar panels, a reliable inverter to convert the energy into usable power for your home, mounting equipment, wiring, and a few other components.
For solar panels, look for monocrystalline or polycrystalline panels from reputable brands with at least 300 watts of power and 20% efficiency or higher. More efficient panels mean you will need fewer panels to power your home. Check independent reviews to find the best value.
Inverters
The inverter is the device that converts the DC power from your solar panels into the AC power used in your home. Get an inverter that is properly sized for your solar panel system and has a warranty of at least 10 years. String inverters that connect to multiple panels are popular for residential use. Microinverters connect to each panel, which can increase efficiency but at a higher cost.
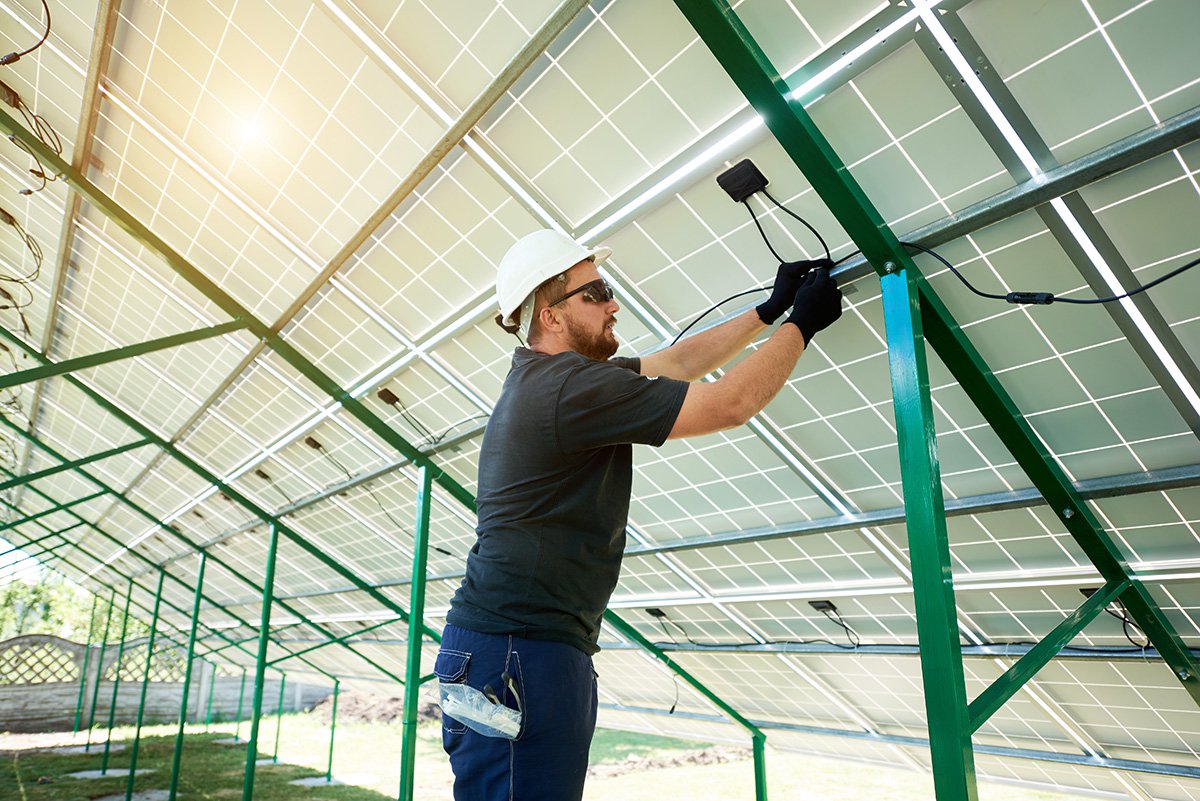
Mounting equipment
You will need mounting racks and hardware rated to securely support your solar panels, especially if you live in an area with high winds or snow loads. Roof mounts attach the panels directly to your roof, while ground mounts are freestanding structures. Roof mounts typically require roof penetrations, so check with a structural engineer to ensure your roof can support the weight.
With high-quality components, installing your solar power system is doable for DIYers. However, solar installation does require knowledge of electrical systems, safety gear, and building permits. If you have any doubts, it may be worth paying an experienced contractor to install your system.
The Installation Process Step by Step: Mounting, Wiring and Connecting Your Solar Panels
Mounting the Rails
The rails are the parts that attach the panels to your roof. You will want to place them carefully according to the plans from your installer. Once positioned properly, secure the rails to your roof according to the specifications. This typically involves bolting through the rails into your rafters. Make sure not to puncture the water barrier under the shingles!
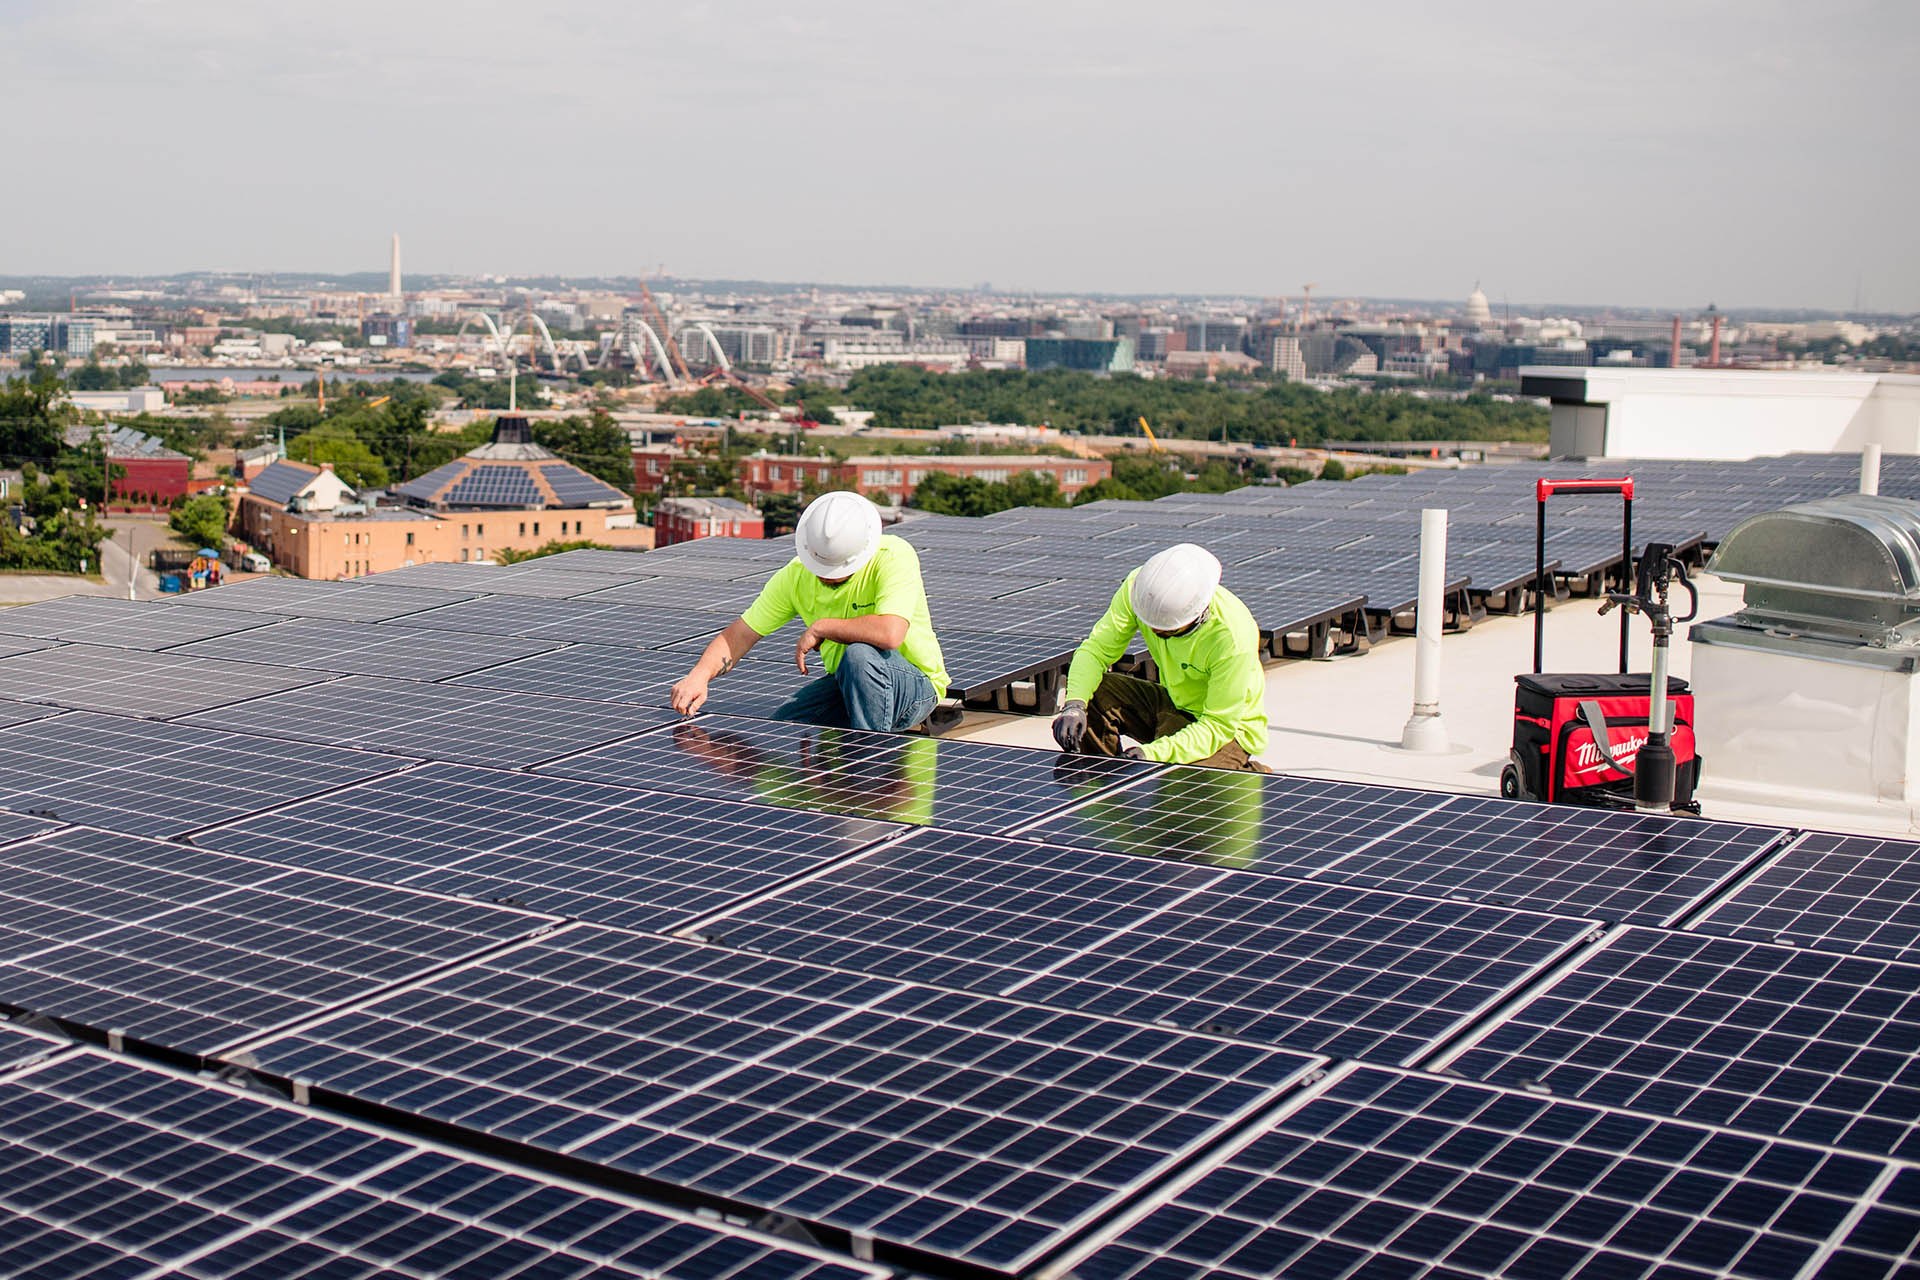
Installing the Panels
With the rails in place, you can now mount the solar panels. Carefully lift each panel onto the rails and secure them according to the design. The panels will need to be angled to face the sun for maximum efficiency. Your installer should have calculated the optimal angle based on your location. Connect the panels both physically and electrically according to the wiring diagram.
Connecting to Your Home
The final step is connecting your new solar panel system to your home electrical system. Your installer will connect the system to your breaker box and install a bi-directional meter to allow excess energy to be sent back to the grid. Once everything is connected properly, flip the switch and start harnessing the solar energy!
A few safety tips: be extremely cautious when working on the roof, wear rubber-soled shoes for traction, and never work alone. Also double check that all wiring is properly connected and insulated before turning the system on. If at any point you feel uncomfortable doing this yourself, do not hesitate to call your installer for guidance or to take over. Your safety is the top priority here.
Conclusion
So there you have it! With a bit of planning, the right gear, and some elbow grease, installing solar panels on your roof can be a doable DIY project. Just take it slow, follow safety precautions, and do not be afraid to call in a pro if you need a hand. At the end of the day, you will have an awesome new solar array that will save you money on electricity bills and reduce your carbon footprint. Pretty sweet payoff for a weekend of work! Whatever your motivations for going solar, tackle this project with confidence knowing you have the steps to make it happen. Then kick back and watch the sun power your home.