You’re ready to go solar – awesome! Installing solar panels on your roof can feel like a daunting project, but it doesn’t have to be. With a bit of planning and the right guidance, you’ll be generating clean energy from the sun in no time. In this comprehensive guide, we’ll walk you through the full process step-by-step, from assessing your roof’s solar potential to connecting your system to the grid. You’ll learn how to choose the right equipment, find qualified installers, understand permits and incentives, and even monitor your system’s performance. We’ve got all the practical tips and expertise you need to successfully go solar on your home. So get ready to join the solar revolution – let’s get you from roof to grid!
Assessing Your Roof’s Solar Potential
Sun Exposure
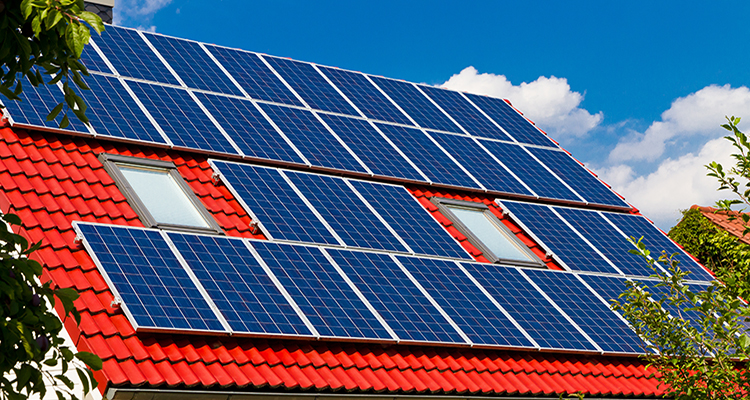
The first thing to consider is how much sun your roof gets. If your roof faces south and gets full sun exposure throughout the day, you’ve hit the jackpot. East or west-facing roofs can still work great, you may just need a few more panels to compensate for slightly less ideal sunlight. Unfortunately, north-facing roofs typically don’t get enough direct light to generate much energy.
Roof Condition and Pitch
Your roof’s condition and pitch also matter. Asphalt or concrete tile roofs are ideal, while roofs needing repair or replacement in the next few years probably aren’t the best candidates. A roof pitch between 15 to 40 degrees is optimal for allowing panels to capture lots of light while still being walkable for installation and maintenance. Very flat or sloped roofs can be trickier to work with.
Space Available
Finally, assess how much open space you have on your roof for panels. The average residential system needs at least 200 to 500 square feet of free area to generate a meaningful amount of electricity. Measure your roof’s dimensions to determine the maximum size system it can accommodate based on your average sunlight and the panel dimensions of your chosen brand.
With the right roof and ample space, you’ll be well on your way to harnessing the sun’s energy and reducing your dependence on the grid. But first, you’ll want to evaluate the costs and benefits to find a solar solution that makes the most sense for your needs and budget.
Choosing the Right Solar Panels and Inverter
Choosing the right solar panels and inverter is crucial to an efficient system. For panels, consider monocrystalline or polycrystalline silicon which are most efficient and space-effective. Monocrystalline panels are a bit more expensive but produce more power. Either type will work great, so go with what fits your budget and space.
For the inverter, choose between microinverters, power optimizers, or string inverters. Microinverters and power optimizers are more expensive but provide panel-level monitoring and control. String inverters are most affordable but if one panel malfunctions, it impacts the whole string. Evaluate your needs and how much detail you want in monitoring each panel.
Once you decide on panels and inverters, determine how many you need based on your average electricity usage and available roof space. More panels mean more power but also higher costs, so find the right balance for your home. You’ll also want enough panels to meet future needs in case you add electric vehicles or appliances.
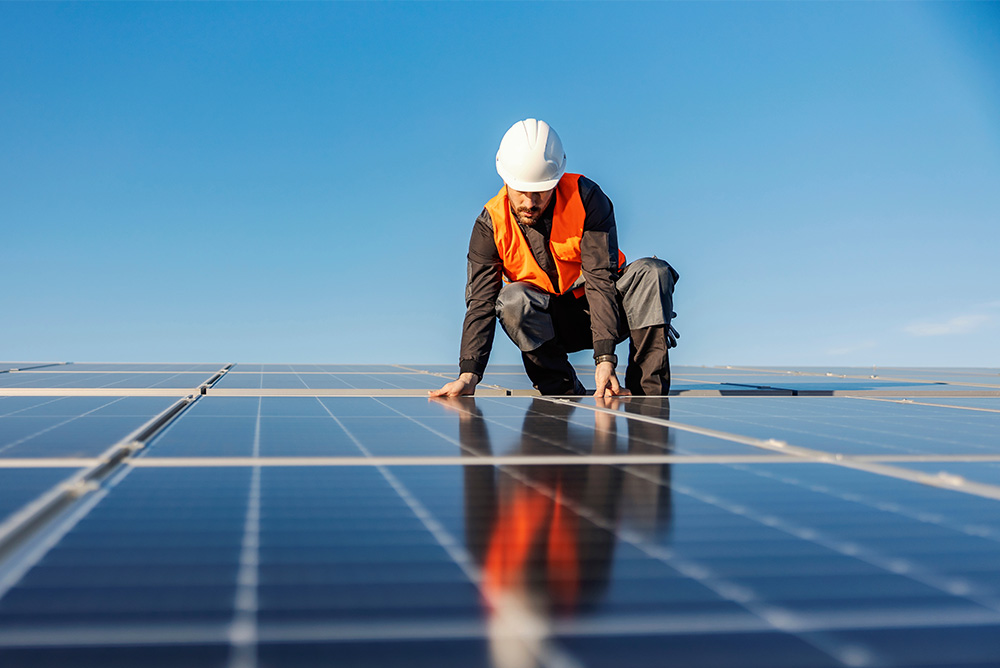
Installation of panels and inverters is best left to professionals. They can properly assess your roof, handle permits, and safely install the system. Do your research to find reputable local installers. They should be certified by organizations like the North American Board of Certified Energy Practitioners.
With the right equipment and professional installation, your solar panels can provide clean energy for your home for decades. While the initial costs may seem high, incentives and energy bill savings help maximize your return on investment in the long run. And you’ll be doing your part for the environment by using renewable solar energy.
Step-by-Step Guide to Installing Solar Panels on Your Roof
Once you’ve decided to make the switch to solar energy, it’s time to install the panels on your roof. The process may seem complicated, but by following these steps, you’ll be harnessing the sun’s power in no time.
First, you’ll need to determine the number of panels needed based on your average energy usage. More panels mean more energy, but also higher costs. Find the right balance for your needs. Next, decide on the type of panels – crystalline silicon panels are affordable and efficient, while thin-film panels are more flexible.
Planning the layout
Work with your installer to design a layout that maximizes energy production. They’ll evaluate factors like roof orientation, shading, and panel size to determine the optimal placement. The layout must allow adequate space for walkways and provide easy access to all panels for any needed repairs or maintenance.
Installing railings and panels
Railings are installed to securely attach the panels to your roof. Your installer will place rails parallel to the roof’s surface, and then attach the panels. Wiring is then connected to combine the panels into an array. The array is connected to an inverter, which converts the DC power to AC for use in your home.
Connecting to your electrical system
The final step is connecting the inverter to your home’s main electrical panel to provide power. Once complete, your solar panels will start producing clean energy and reducing your dependence on the electrical grid. Enjoy your lower energy bills and newfound energy independence, all thanks to the power of the sun!
With some planning and the help of a professional solar installer, you’ll be well on your way to harnessing solar energy in no time. The initial investment in a residential solar system may seem high, but incentives and energy savings over the lifetime of the panels help improve the return on your investment.
Conclusion
So there you have it – a step-by-step guide to installing solar panels on your roof and powering your home with the sun. With a bit of planning, the right gear, and some elbow grease, you can tap into clean, renewable energy and reduce your dependence on the grid. Just take it slow, follow safety precautions, and don’t be afraid to call in a professional if you need a hand. Going solar is a big project but rewarding when you flip that switch and watch your electric meter spin backward for the first time. Power to the people! You got this.


